Precautions for Direct Coating Water-based PSA
Dear Customer,
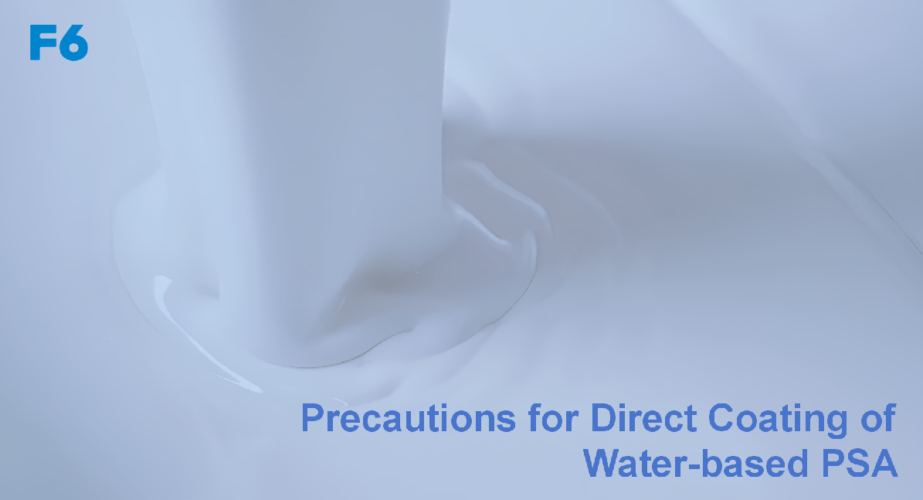
Thank you for choosing our water-based PSA product.
This adhesive is an acrylic emulsion, non-hazardous, with low VOC content. It is more environmentally friendly and safer for operators’ health, while maintaining bonding strength and heat/humidity resistance comparable to traditional solvent-based PSAs.
On Odor
Low VOC does not necessarily mean low odor.
Even water-based PSAs have a certain level of odor. Perception of odor varies among individuals due to differences in olfactory sensitivity. For customers with low-odor requirements, please ensure good workshop ventilation after coating, and avoid storing PSAs together with other solvent-based or odorous materials in the same space.
On Solid Content & Viscosity
Our water-based PSAs are generally supplied in high-solid form (≥50% solids) to suit coating lines of various lengths and heating conditions. This helps reduce energy consumption, lower water content, and shorten drying time.
- Typical RT viscosity: 10,000 – 25,000 mPa·s
- Suitable for:
- Oven length: 16 – 30 m
- Wet coating weight: 80 – 200 g/m²
- Line speed: 3 – 20 m/min
If your oven length, coating weight, or line speed exceeds these ranges, please inform us so we can adjust the viscosity to ensure coating compatibility.
Key Coating Considerations
- Five critical coating variables: temperature profile, coating speed, air in/out volume, lamination pressure, curing time.
- These must be adjusted based on oven length, heating power, coating weight, substrate type, and adhesive performance requirements.
- If you are using our PSA for the first time, please inform us of your equipment specifications (length, heating method) so we can recommend optimal coating parameters.
- Drying principle: Water-based PSAs dry by water evaporation.
- Air volume balance is often overlooked. Insufficient dehumidification may lead to high moisture concentration inside the oven, causing condensation or poor drying efficiency.
- Dry adhesive lamination:
- Prefer two-step lamination:
- Step 1: Pre-lamination (light pressure to exhaust air and smooth surface)
- Step 2: Final lamination (higher pressure to enhance penetration and adhesion)
- One-step lamination may cause material deformation or thickness reduction, leading to shrinkage after die-cutting.
- Prefer two-step lamination:
- Glue pan handling:
- Keep liquid level 1 cm below the baffle to avoid roller–baffle friction that generates heat and dried gel particles, which may block the doctor blade and cause line defects.
- Periodically spray ~75% ethanol at the baffle edges to reduce bubbles and dried particles.
- Curing time:
- Adhesive strength improves with curing.
- 24 hours: good adhesion
- 72 hours: stable adhesion
- For low-density foams without release liners, avoid multi-layer die-cutting, as adhesive penetration may cause “loss of tack.”
- Release liner precautions:
- Paper liners with single-side PE/silicone coatings may warp under high humidity, causing delamination. Ensure proper dehumidification.
- Under very dry conditions, ensure re-moisturizing to prevent liner curling or strong static buildup.
Adhesive Storage
- Store at 0–40℃.
- Use within 6 months for best performance.
- After opening, seal tightly to prevent surface skinning.
- If additives are introduced or the adhesive is altered without our consent, we will not be responsible for quality issues.
Manual Application Notes
- Temperature control:
- Ensure workshop temperature is above 10℃.
- Substrate temperature must not be below 9℃.
- Surface preparation:
- Metal parts: free from oil, condensation, or coolant.
- Plastic parts: free from mold-release agents.
- Manual bonding:
- Apply a lamination pressure of at least 100 gf/cm².
- Cold press dwell time: ≥1 second (longer is better).